How do I repair a damaged Black Gold Tile?
Jul 23, 2025
Leave a message
Hey there! I'm a supplier of Black Gold Tiles, and I know how frustrating it can be when you've got a damaged tile. Whether it's a crack, a chip, or some other kind of wear and tear, a damaged Black Gold Tile can really stick out like a sore thumb. But don't worry, 'cause I'm here to walk you through how to repair it.
First things first, you gotta figure out what kind of damage you're dealing with. Is it a small chip on the edge? A hairline crack in the middle? Or maybe a big chunk is missing? The type of damage will determine the best repair method.
For Small Chips
If you've got a small chip on the edge of the tile, you're in luck. This is usually the easiest type of damage to fix. You'll need a tile repair kit, which you can find at most home improvement stores. These kits typically come with a filler compound and a color-matching powder.
Start by cleaning the chipped area with a mild detergent and water. Make sure it's completely dry before you start. Then, mix the filler compound according to the instructions on the kit. You'll want to add just enough of the color-matching powder to make the filler match the color of your Black Gold Tile. It might take a little trial and error to get the color just right, but don't worry, you'll get there.
Once you've got the filler mixed, use a putty knife to apply it to the chipped area. Press it in firmly and smooth it out as best you can. Let it dry completely, which usually takes a few hours. After it's dry, use fine-grit sandpaper to sand the repaired area until it's smooth and flush with the rest of the tile.
For Hairline Cracks
Hairline cracks are a bit trickier to repair, but it's still doable. You'll need a tile crack repair epoxy. These epoxies are designed to seep into the crack and bond the two sides together.
Clean the cracked area thoroughly with a degreaser to remove any dirt, grease, or grime. This is really important, 'cause the epoxy won't bond properly if there's anything on the surface. Let the area dry completely.
Next, mix the epoxy according to the instructions. You'll usually have to mix two parts together: a resin and a hardener. Once it's mixed, use a syringe or a small brush to apply the epoxy into the crack. Make sure you fill the crack completely. You might need to apply a few coats to get it full.
After you've applied the epoxy, use a putty knife to scrape off any excess. Let the epoxy dry for the recommended amount of time, which can vary depending on the product. Once it's dry, sand the area gently to smooth it out.
For Larger Damages
If a big chunk of the tile is missing, you might need to replace the whole tile. This is a more involved process, but it's still something you can do yourself if you're handy.
First, you'll need to remove the damaged tile. Use a chisel and a hammer to carefully break up the tile. Start at the edges and work your way in. Be careful not to damage the surrounding tiles. Once the tile is broken up, use a putty knife to scrape out any remaining pieces of the tile and the adhesive.
Next, you'll need to measure the space where the tile was removed. Cut a new Black Gold Tile to fit the space. You can use a tile cutter to do this. Make sure you wear safety goggles and gloves when you're cutting the tile.
Apply a thin layer of tile adhesive to the back of the new tile and the area where the old tile was removed. Press the new tile into place and use a level to make sure it's straight. Let the adhesive dry for the recommended amount of time.
After the adhesive is dry, use grout to fill in the gaps between the new tile and the surrounding tiles. Mix the grout according to the instructions and use a grout float to apply it. Wipe off any excess grout with a damp sponge. Let the grout dry for a few days before you use the area.
Some Tips and Tricks
- Always wear safety gear when you're working with tiles. This includes safety goggles, gloves, and a dust mask. Tiles can break into sharp pieces, and the dust from cutting and sanding can be harmful if you inhale it.
- Test any repair products on a small, inconspicuous area of the tile first. This will help you make sure the color matches and the product works as expected.
- If you're not sure about something, don't be afraid to ask for help. You can call a professional tile installer or visit your local home improvement store and ask one of the employees for advice.
Our Black Gold Tiles and Related Products
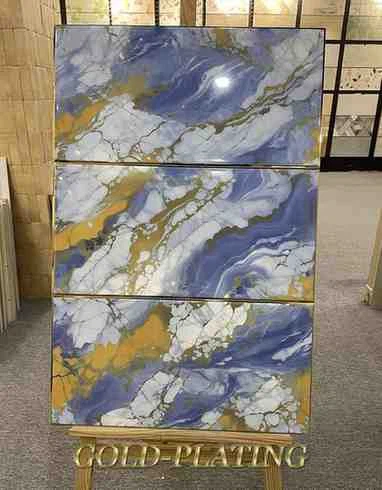
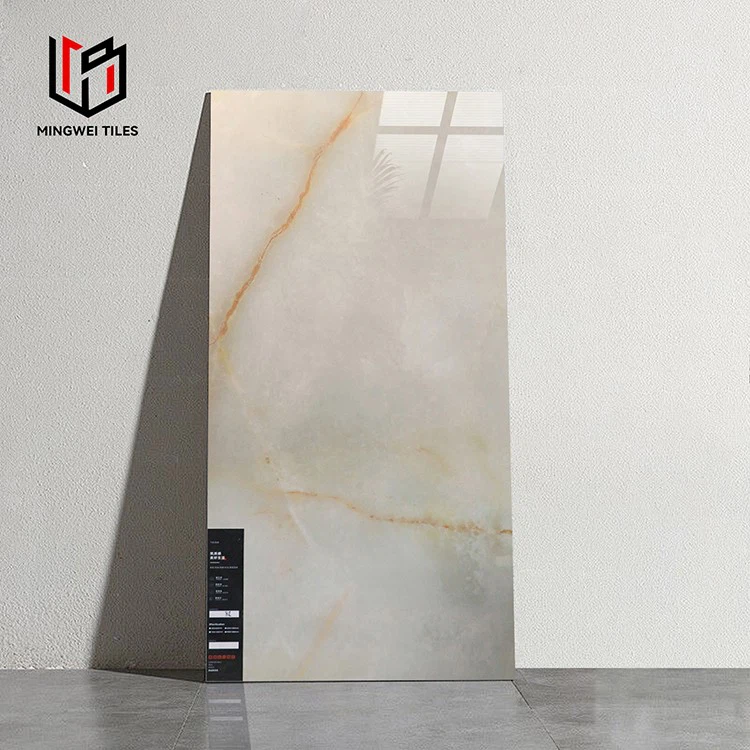
We offer a wide range of Black Gold Tiles that are not only beautiful but also durable. And if you're looking for something different, we've got some great alternatives too. Check out our Marble Golden Tile, Flower Design Glossy Gold Porcelain Tiles II, and Rainbow Golden Porcelain Glossy Tiles. These tiles are perfect for adding a touch of luxury to any space.
If you're interested in purchasing our tiles or have any questions about tile repair or installation, don't hesitate to reach out. We're here to help you make your project a success. Whether you're a DIY enthusiast or a professional contractor, we've got the products and the knowledge to support you.
In conclusion, repairing a damaged Black Gold Tile doesn't have to be a nightmare. With the right tools, products, and a little bit of patience, you can get your tile looking as good as new. So, go ahead and give it a try. And if you need more tiles or have any other tile-related needs, just let us know.
References
- Home Depot. "Tile Repair Guide."
- Lowe's. "How to Fix a Cracked Tile."
- Tile Council of North America. "Tile Installation and Maintenance Handbook."