

How to install brown ceramic tiles on a curved surface?
Jun 27, 2025
Leave a message
Installing brown ceramic tiles on a curved surface can be a challenging yet rewarding project. As a supplier of high - quality brown ceramic tiles, I've seen firsthand how these tiles can transform a space, adding warmth and elegance. In this blog, I'll guide you through the process of installing brown ceramic tiles on a curved surface, step by step.
1. Planning and Preparation
Before you start the installation, it's crucial to have a well - thought - out plan.
- Measure the Curved Surface: Use a flexible measuring tape to accurately measure the length, width, and the degree of curvature of the surface. This will help you determine the number of tiles you need. Remember to account for any waste due to cutting. You can calculate the area of the curved surface by approximating it with a series of small, flat sections.
- Choose the Right Tiles: Not all brown ceramic tiles are suitable for curved surfaces. Look for thinner tiles as they are more flexible and easier to bend around the curve. Our 24*48 Porcelain Tiles are a great option. They are relatively thin and have good flexibility, making them ideal for curved installations.
- Gather Tools and Materials: You'll need a variety of tools, including a tile cutter (preferably a wet saw for clean cuts), a trowel, a rubber mallet, tile spacers, a level, and a bucket for the adhesive. For materials, besides the brown ceramic tiles, you'll need tile adhesive, grout, and a sealer.
2. Surface Preparation
A proper surface preparation is the key to a successful tile installation.
- Clean the Surface: Remove any dirt, dust, grease, or old paint from the curved surface. Use a degreaser and a stiff brush to ensure a clean and smooth base. If the surface has any cracks or holes, fill them with a suitable filler and let it dry completely.
- Check for Levelness: Although the surface is curved, it should still be as even as possible. Use a level to check for any major irregularities. If necessary, sand down any high spots or build up low areas with a leveling compound.
- Prime the Surface: Applying a primer can improve the adhesion of the tile adhesive. Follow the manufacturer's instructions when applying the primer and allow it to dry thoroughly.
3. Tile Layout and Marking
Planning the tile layout on the curved surface will help you avoid any awkward cuts at the end.
- Dry - Lay the Tiles: Start by dry - laying the brown ceramic tiles on the curved surface without using adhesive. This will give you an idea of how the tiles will fit and where you may need to make cuts. Pay attention to the pattern and alignment of the tiles.
- Mark the Center Line: Find the center of the curved surface and mark it with a chalk line. This will serve as a reference point for laying the tiles. You can then work your way out from the center line on both sides.
- Mark Cutting Lines: Identify the tiles that need to be cut to fit the curve. Use a pencil or a marker to mark the cutting lines on the tiles. It's a good idea to make a few test cuts on scrap tiles to ensure the accuracy of your cutting technique.
4. Tile Cutting
Cutting tiles for a curved surface requires precision and patience.
- Use the Right Cutting Method: For straight cuts, a wet saw is usually the best option as it provides clean and accurate cuts. However, for curved cuts, you may need to use a tile nipper or a tile cutter with a scoring wheel. Make small, incremental cuts and gradually shape the tile to fit the curve.
- Be Careful with Handling: When cutting the tiles, wear safety goggles and gloves to protect yourself from flying debris. Hold the tile firmly but gently to avoid cracking or breaking it.
5. Tile Installation
Once the tiles are cut, it's time to install them on the curved surface.
- Apply the Adhesive: Use a trowel to apply the tile adhesive to the curved surface. Make sure to spread the adhesive evenly, following the manufacturer's recommended thickness. Start from the center line and work your way out.
- Place the Tiles: Carefully place the cut tiles on the adhesive, pressing them firmly into place. Use a rubber mallet to gently tap the tiles to ensure good contact with the adhesive. Insert tile spacers between the tiles to maintain consistent spacing.
- Check for Alignment: As you install the tiles, use a level to check for alignment. Make any necessary adjustments by gently moving the tiles. Keep in mind that the tiles may need to be bent slightly to follow the curve of the surface.
6. Grouting
Grouting gives the tile installation a finished look and helps protect the tiles.
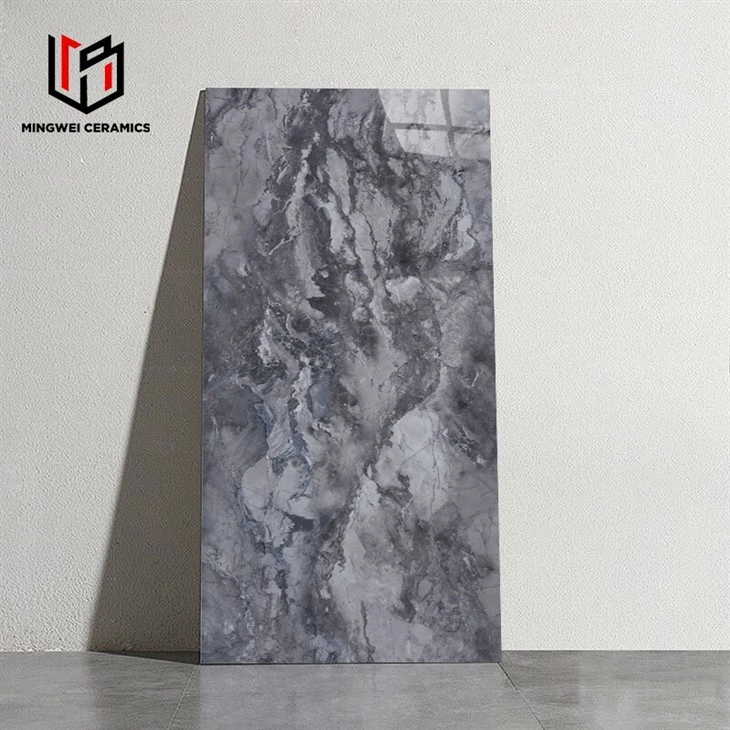
- Choose the Right Grout: Select a grout that matches the color of your brown ceramic tiles or complements them. Our Grey Mix Porcelain Marble Stone Tiles 600x1200mm look great with a light - colored grout.
- Mix the Grout: Follow the manufacturer's instructions to mix the grout to the right consistency. Use a grout float to apply the grout to the spaces between the tiles. Make sure to fill all the gaps completely.
- Clean the Tiles: After applying the grout, use a damp sponge to clean the excess grout from the surface of the tiles. Rinse the sponge frequently to avoid leaving grout residue on the tiles.
7. Sealing
Sealing the tiles and grout helps protect them from stains and moisture.
- Apply the Sealer: Use a brush or a roller to apply a tile sealer to the installed tiles and grout. Make sure to cover all the surfaces evenly. Let the sealer dry according to the manufacturer's instructions.
- Repeat if Necessary: Depending on the type of sealer and the level of protection you need, you may need to apply a second coat of sealer.
8. Final Inspection
After the installation is complete, it's important to conduct a final inspection.
- Check for Loose Tiles: Gently tap on each tile with a rubber mallet to check for any loose tiles. If you find any, remove the tile, re - apply the adhesive, and replace it.
- Inspect the Grout Lines: Look for any gaps or uneven grout lines. If necessary, touch up the grout and smooth out the lines.
- Clean the Tiles Again: Use a clean, dry cloth to wipe down the tiles one last time to remove any remaining dust or debris.
Contact for Purchase and Consultation
Installing brown ceramic tiles on a curved surface can enhance the aesthetic appeal of any space. If you're interested in purchasing high - quality brown ceramic tiles for your project, or if you have any questions about the installation process, feel free to contact us. We have a wide range of brown ceramic tiles, including our Grey Colour Polished Ceramic Tiles, to meet your needs. Our team of experts is always ready to assist you with your tile selection and installation queries.

References
- "Tile Installation Handbook" by The Tile Council of North America
- "Ceramic Tile Installation for Dummies" by Mark Donovan