

How To Correctly Lay Ceramic Tiles - Solving Home Decoration Problems-three
Dec 02, 2025
Leave a message
Introduction
Deeply cultivating professional knowledge in tile laying, making your decoration construction more efficient, living safer, and avoiding detours and pitfalls!
Elaborate on the standard process and core points of tile laying, help promote efficient decoration processes, and build a solid foundation for home safety and durability!
Systematically popularize the knowledge of correct tiling of ceramic tiles, balancing construction efficiency and safety performance, to safeguard your decoration!
Professional disassembly of the entire process of tile laying and installation is standardized, making decoration both labor-saving and time-saving, while ensuring long-term safety and stability during use!
Science Popularization 4
Core laying process: Details determine appearance and durability.
First, snap horizontal and vertical lines on the ground/wall to determine the tile layout (such as using whole tiles at the entrance and window edges to avoid small triangular tiles). Tiles with patterns should be pre laid in advance and adjusted to connect the patterns.

Do not use cement mortar to stick large-sized bricks (≥ 600 × 600mm), be sure to use ceramic tile adhesive (C1 grade or above). When laying on walls, use a toothed scraper to scrape from bottom to top, and apply adhesive to the back of the tiles (full adhesion process) to avoid hollowing.

Ceramic tiles must leave seams! Leave 2-5mm for antique tiles and 1.5-3mm for vitrified tiles, to solve the problem of thermal expansion and contraction, and to cover up paving errors. The beauty joint should be done after 7 days of tile laying (when the tile adhesive is completely cured). First, clean the dust and accumulated water in the gaps, and then apply the beauty joint agent to avoid later detachment.
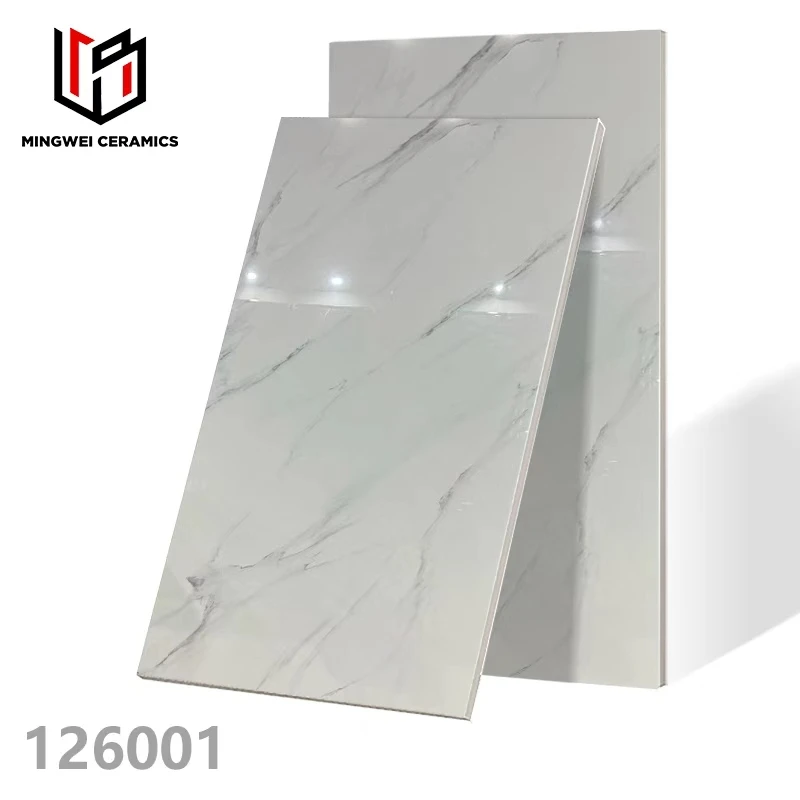
Lay the tiles on the floor from inside out (such as from the bedroom to the door) to avoid stepping on the newly laid tiles; Wall tiling should be done from bottom to top, with wall tiles first and then floor tiles, to prevent floor tiles from contaminating the wall tiles.

After the tiles are pasted, gently tap with a rubber hammer to ensure that the tiles and tile adhesive are fully adhered. At the same time, use a ruler to check the flatness. A height difference of ≤ 0.5mm is considered qualified. If there are any problems, adjust them in a timely manner (the tile adhesive can be adjusted before curing).

The end
Tile tiling may seem like a simple matter of "tiling", but in reality, there are too many professional tricks hidden - from the specification matching during material selection, to the detailed control of grassroots treatment, to the standardized operation of tiling technology, each step directly affects the durability and aesthetics of the home. As an experienced craftsman with 15 years of experience, I sincerely hope that this informative article can help everyone avoid the "tile pit" in decoration, avoid detours, and save money.
Remember, good ceramic tiles require proper craftsmanship. Standardized tiling not only enhances the appearance of the tiles, but also lays a solid foundation for home safety, allowing you to live with peace of mind and use them for a long time. If there are any further questions regarding tile selection, layout design, acceptance rework, or encountering difficulties in special scenarios (such as irregular spaces or special material tile laying), please feel free to communicate at any time. Finally, I wish everyone a smooth completion of the decoration and a beautiful and durable ideal home!